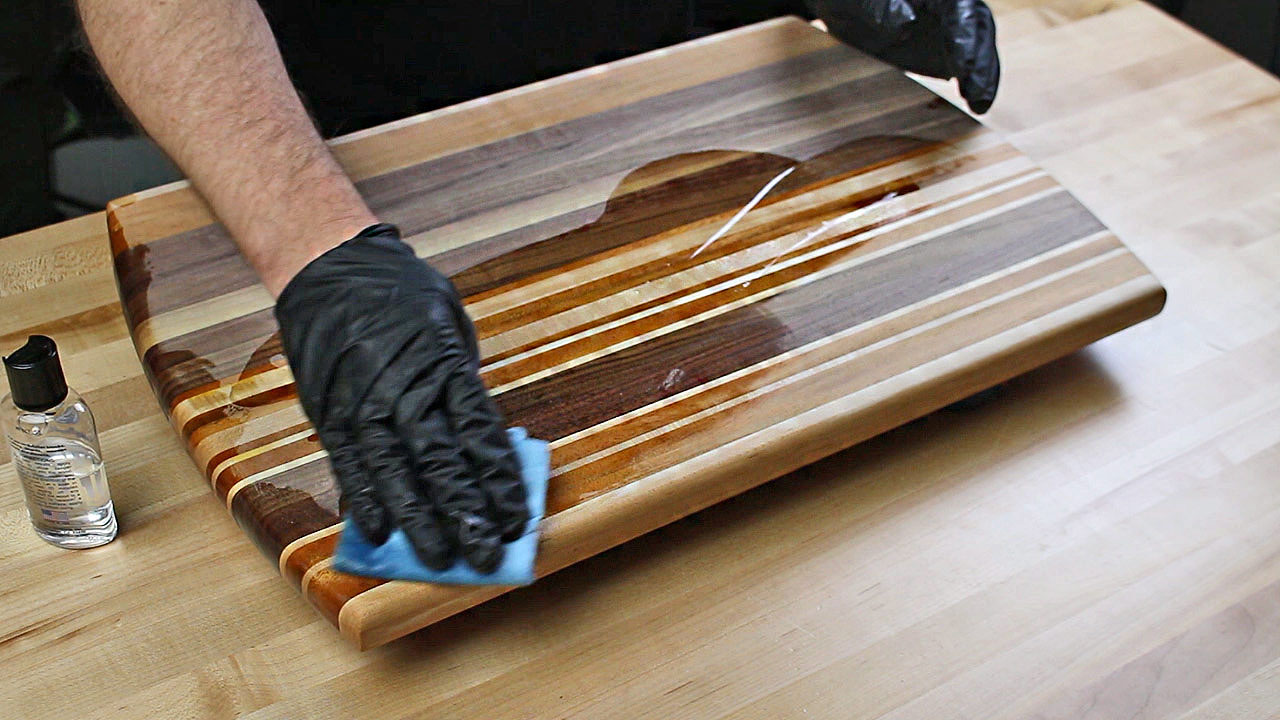
How to Make a Custom Wooden Cutting Board

Tuesday, November 5, 2024

0 comments
How to Make a Custom Wooden Cutting Board 1
How to Make a Custom Wooden Cutting Board 2


Creating a custom wooden cutting board is a rewarding project that combines woodworking skills with personal style. Here's a step-by-step guide to help you get started:

Materials:

Wood: Choose hardwood like maple, walnut, cherry, or oak for durability. You can use reclaimed wood for a unique look.
Wood glue: Use a strong, waterproof wood glue.
Finish: Mineral oil, beeswax, or food-safe polyurethane for protection and a beautiful finish.
Safety gear: Eye protection, gloves, and a respirator.
Tools:
Table saw or circular saw
Jointer
Planer (optional)
Hand plane
Sandpaper (various grits)
Router (optional)
Clamps
Drill with drill bits
Measuring tape
Pencil

Steps:

1. Choose your wood and design:

Decide on the size, shape, and style of your cutting board. Consider how you will use it and what features you want to include (e.g., handles, juice grooves).
Source your wood. You can purchase pre-cut boards or mill your own.

2. Prepare the wood:

Plane and joint: If necessary, use a jointer and planer to create flat, smooth surfaces.
Sand: Sand the wood with progressively finer grits of sandpaper to achieve a smooth finish.

3. Cut the pieces:

Shape: Cut the wood to your desired shape using a table saw or circular saw.
Handles: If you're adding handles, cut them separately and drill holes for attachment.

4. Glue the pieces together (if necessary):

Prepare the surfaces: Use a wood glue specifically designed for food-safe applications. Apply a thin, even layer of glue to both surfaces.
Clamp: Clamp the pieces together tightly and allow the glue to dry completely according to the manufacturer's instructions.

5. Shape the board:

Round the edges: Use a router or hand plane to round the edges of the board for a comfortable feel.
Add a juice groove: If desired, use a router to create a groove around the perimeter of the board to catch juices.

6. Sand the board:

Sand smooth: Sand the entire surface of the board, paying special attention to the edges and corners, to achieve a smooth, even finish.
Sand with progressively finer grits: Start with coarse sandpaper and work your way up to finer grits to remove any sanding marks.

7. Finish the board:

Apply finish: Choose a food-safe finish, such as mineral oil, beeswax, or polyurethane. Apply several coats, allowing each coat to dry completely before applying the next.
Buff: After the final coat of finish has dried, buff the board with a soft cloth to achieve a smooth, polished finish.

8. Add a personal touch:

Engrave or burn: Add a design or monogram using an engraving tool or woodburning kit.
Inlay: Create a decorative design by inlaying wood or other materials.

9. Enjoy your custom cutting board!

Safety Precautions:

Always wear safety glasses and a respirator when working with wood.
Use caution when operating power tools and follow all safety instructions.
Be mindful of dust and ensure proper ventilation.

Tips:

Consider using a template or drawing to help you accurately cut the shape of your cutting board.
Allow the wood to dry completely before applying finish.
Use a sanding block to ensure even sanding.
Test the finish on a scrap piece of wood before applying it to your finished board.

Remember, this is a general guide. There are many different techniques and approaches to making custom wooden cutting boards. Experiment with different woods, finishes, and designs to create a unique and beautiful piece that reflects your style.

Read More..

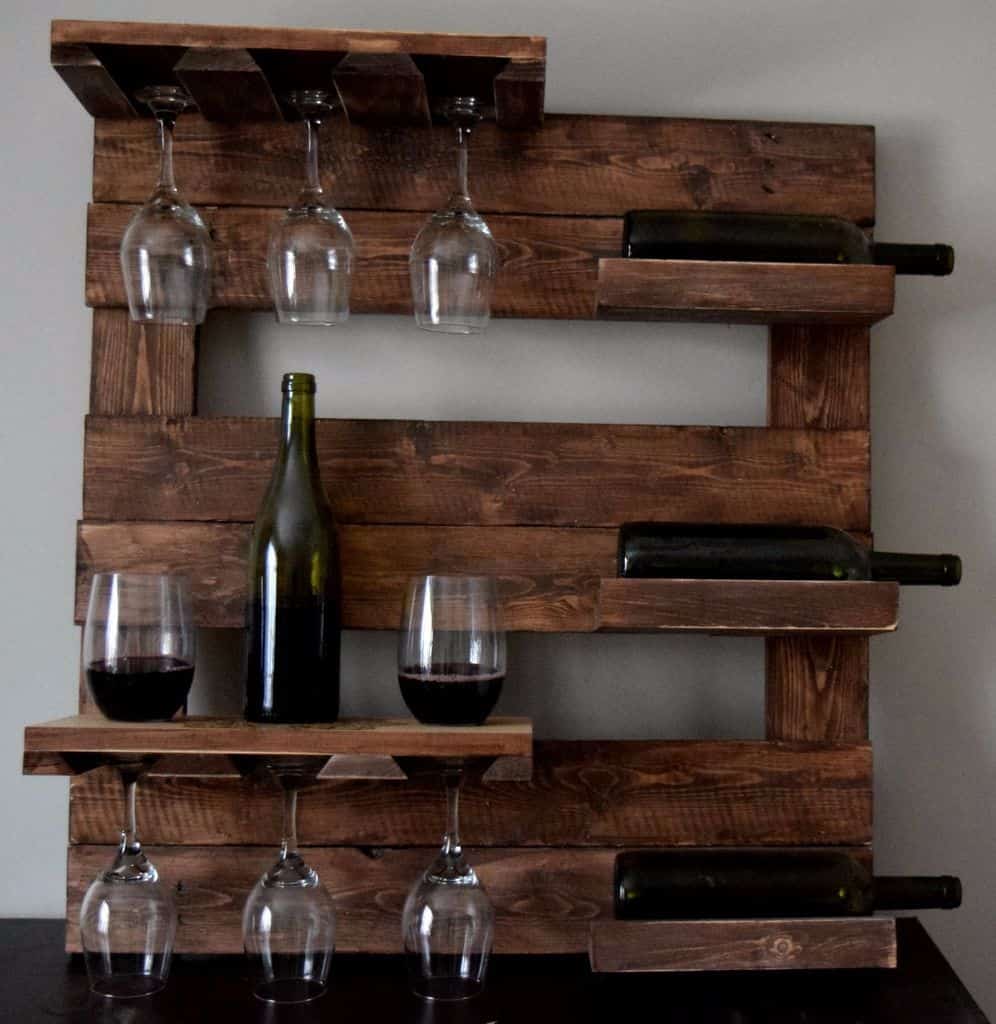
DIY Wooden Wine Rack: A Stylish Addition to Your Home

0 comments
DIY Wooden Wine Rack: A Stylish Addition to Your Home 1
DIY Wooden Wine Rack: A Stylish Addition to Your Home 2


Introduction:

A wine rack isn't just a storage solution; it's a statement piece that adds character and charm to your home. With a little creativity and woodworking skills, you can build a custom wine rack that complements your decor and showcases your wine collection.

Materials:

Wood: Choose durable hardwood like oak, maple, or walnut. You can also use pine or plywood for a more affordable option.
Wood glue: For strong and durable joints.
Wood screws: To secure the pieces together.
Wood stain or paint: To finish the rack and add color.
Sandpaper: For smoothing the surface and creating a polished look.
Measuring tape: For precise measurements.
Saw: To cut the wood to size.
Drill: To pre-drill holes for screws.
Clamps: To hold the pieces together while the glue dries.

Design:

1. Choose a style: There are many different wine rack designs available, from simple to intricate. Consider the size of your collection and the available space.
2. Sketch your design: Draw a detailed diagram of your wine rack, including the dimensions of each piece.
3. Cut the wood: Cut the wood pieces according to your design using a saw.

Construction:

1. Assemble the frame: Join the pieces of wood together using wood glue and screws. Use clamps to hold the pieces together while the glue dries.
2. Add the shelves: Cut the shelves to size and attach them to the frame using glue and screws.
3. Sand the surface: Smooth out any rough edges with sandpaper.
4. Finish the rack: Apply stain or paint to your desired finish. Let it dry completely before using the rack.

Tips:

Consider adding a decorative touch: Use wood carving, inlays, or paint to add a personal touch to your wine rack.
Pre-drill holes: This will prevent the wood from splitting when you screw the pieces together.
Use a good quality wood glue: This will ensure a strong and lasting bond.
Let the glue dry completely: Before using the rack, make sure the glue has had enough time to dry.

Variations:

Wall-mounted wine rack: This is a great space-saving option.
Freestanding wine rack: This provides more storage space and can be placed anywhere in your home.
Wine rack with bottle storage: This allows you to store bottles upright, while also providing space for glasses or other accessories.

Conclusion:

Creating a DIY wooden wine rack is a fun and rewarding project. With the right materials and instructions, you can build a beautiful and functional piece that adds character to your home. Enjoy the process and the satisfaction of creating a unique and personalized piece for your wine collection.

Read More..

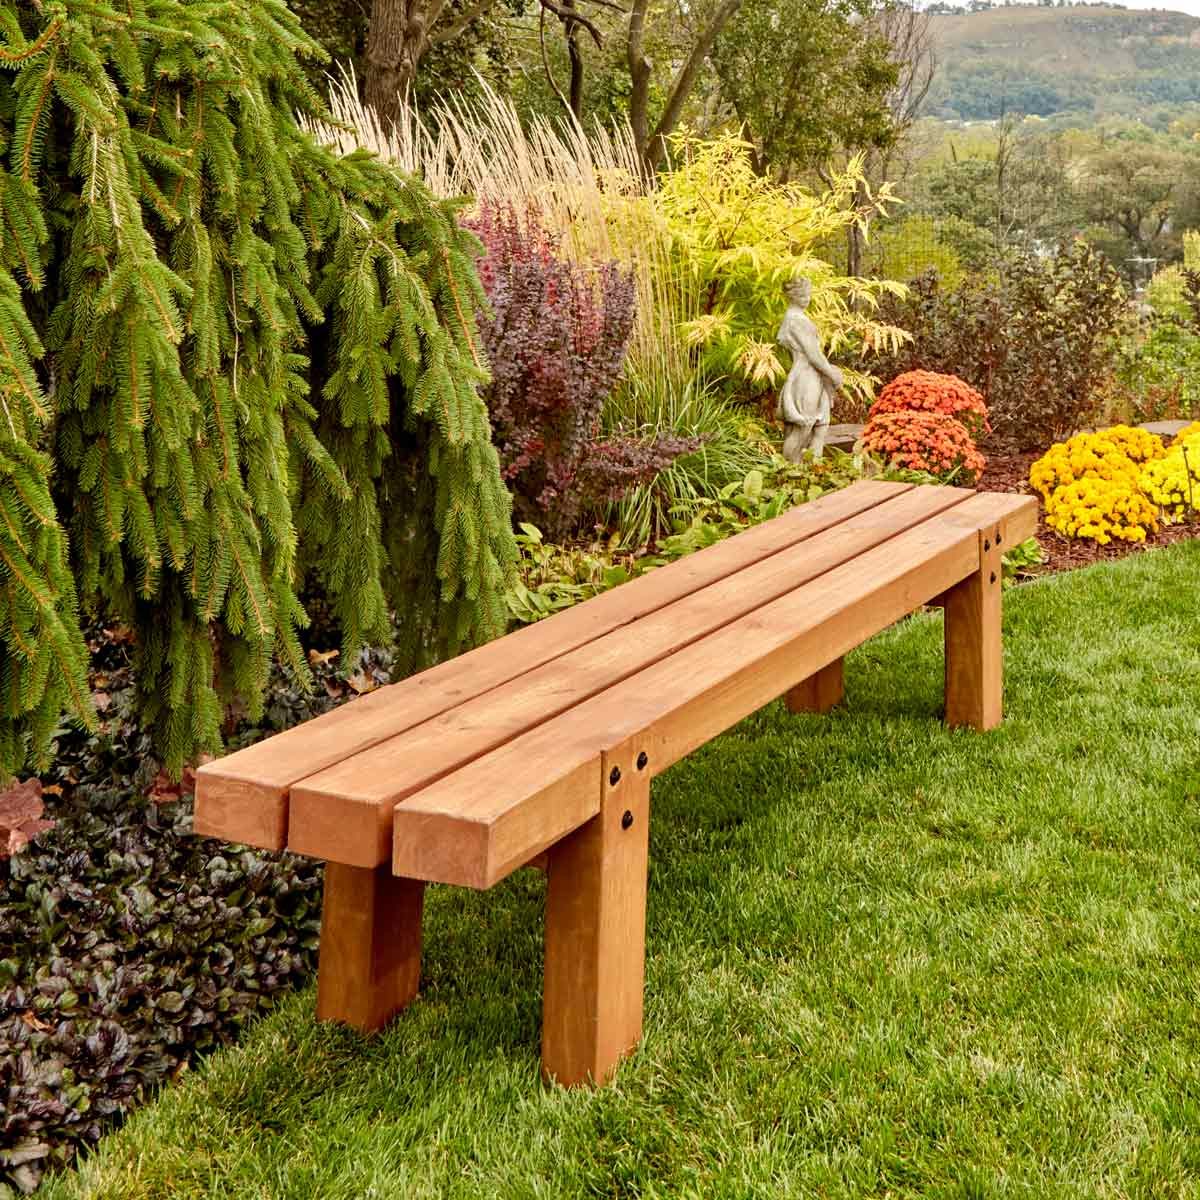
How to Build a Rustic Wooden Bench for Your Garden

0 comments
How to Build a Rustic Wooden Bench for Your Garden 1
How to Build a Rustic Wooden Bench for Your Garden 2


This guide will help you build a sturdy and rustic wooden bench perfect for your garden.

Materials:

Lumber:
4x4s: 2 pieces, 48 inches long for legs
2x4s: 4 pieces, 48 inches long for the seat frame
2x6s: 2 pieces, 48 inches long for the seat boards
2x4s: 2 pieces, 16 inches long for the back supports
2x6s: 4 pieces, 16 inches long for the backrest boards
Fasteners:
2.5" wood screws: Approximately 50
3.5" wood screws: Approximately 10
Wood glue:
Tools:
Circular saw or chop saw
Drill
Impact driver
Level
Tape measure
Pencil
Safety Glasses
Work gloves
Clamps

Instructions:

1. Prepare the Lumber:

Cut the 4x4s to 48 inches for the legs.
Cut the 2x4s to 48 inches for the seat frame.
Cut the 2x6s to 48 inches for the seat boards.
Cut the 2x4s to 16 inches for the back supports.
Cut the 2x6s to 16 inches for the backrest boards.
Optional: You can add a rustic look to the lumber by distressing the edges with a hammer or sander.

2. Build the Seat Frame:

Lay out: Place the 2x4s for the seat frame on a flat surface, parallel to each other and 16 inches apart.
Connect: Secure the seat frame together using wood glue and 2.5" screws. Use at least 3 screws per connection, ensuring they go into the center of the wood for stability.
Optional: You can add cross supports under the seat frame for additional strength, using 2x4s cut to the width of the bench and placed perpendicular to the frame.

3. Assemble the Legs:

Attach to frame: Attach the 4x4 legs to the underside of the seat frame using wood glue and 3.5" screws. Use 2 screws per leg.
Position: Ensure the legs are positioned at the corners of the seat frame and are level.
Optional: To add a rustic touch, use a chisel to create a slight bevel on the top of the legs.

4. Build the Backrest:

Assemble: Place the 2x4 back supports parallel to each other and 16 inches apart, approximately 12 inches above the seat frame.
Attach: Secure the back supports to the seat frame using wood glue and 2.5" screws.
Attach boards: Attach the 2x6 backrest boards to the back supports using wood glue and 2.5" screws.

5. Finish the Bench:

Sand: Sand the entire bench, starting with rough grit sandpaper to remove any rough spots and then finishing with fine grit sandpaper for a smooth finish.
Stain or paint: Apply your desired stain or paint. If using stain, apply a sealant for extra protection.

Additional Tips:

Customize: Adjust the dimensions of the bench to fit your desired size and comfort level.
Consider angles: For a more comfortable backrest, slightly angle the backrest boards.
Add armrests: For added comfort, attach armrests to the seat frame using 2x4s and 2.5" screws.
Decorate: Add decorative elements like rope or metal accents for a personalized touch.

Safety Precautions:

Wear safety glasses and work gloves.
Use a stable work surface.
Be careful when using power tools.
Always follow the manufacturer's instructions for your tools.

Enjoy your new rustic wooden bench! Remember to place it in a shaded area and treat it with wood sealant to protect it from the elements.

Read More..

Transform Your Dining Room with These DIY Woodworking Table Ideas

0 comments
Transform Your Dining Room with These DIY Woodworking Table Ideas 1
Transform Your Dining Room with These DIY Woodworking Table Ideas 2


Introduction:

Want to bring a unique, personal touch to your dining room? Look no further than a DIY woodworking table project! From rustic farmhouse tables to sleek modern designs, the possibilities are endless. This guide will inspire you with creative ideas and practical advice to build a beautiful and functional centerpiece for your dining space.

Design Inspiration:

Rustic Farmhouse: Embrace the charm of reclaimed wood and distressed finishes. Think thick, chunky legs, a live-edge tabletop, and a natural wood stain.
Modern Minimalism: Opt for clean lines, geometric shapes, and sleek materials like walnut or maple. Consider a minimalist metal base or a simple, geometric tabletop.
Industrial Chic: Combine wood with metal elements like pipes or hairpin legs. Embrace the industrial aesthetic with a distressed finish and exposed hardware.
Mid-Century Modern: Recreate the iconic look of the 1950s with tapered legs, rounded edges, and a warm wood tone.
Coastal Style: Create a breezy and inviting atmosphere with light wood tones, beachy accents like rope detailing, and a distressed white finish.

Essential Woodworking Skills:

Measuring and Cutting: Accuracy is key for a sturdy and well-proportioned table.
Joining Techniques: Learn to use dowels, mortise and tenon joints, or pocket holes for secure and durable connections.
Sanding and Finishing: Smooth out rough edges and achieve a desired finish using sandpaper and wood stains or paints.
Safety Practices: Always prioritize safety with proper tools, protective gear, and a clean workspace.

Table Ideas:

Extendable Dining Table: Create a table that can grow with your family using a butterfly leaf or sliding mechanism.
Farmhouse-Style Table: Build a sturdy and charming table with a wide, thick tabletop and chunky legs.
Floating Table: Design a minimalist and modern table with a tabletop that appears to float above a slim base.
Round Table: Embrace a classic and elegant design with a circular tabletop. Consider adding a pedestal base for a sophisticated look.
Trestle Table: Opt for a rustic and sturdy design with a tabletop supported by two or more trestle legs.

Tips for Success:

Start with a Plan: Sketch out your design and create a detailed plan before starting to ensure everything fits together properly.
Choose High-Quality Materials: Opt for durable wood species and strong hardware for a long-lasting table.
Practice Patience: Woodworking can be challenging but rewarding. Take your time, focus on accuracy, and enjoy the process.
Embrace Your Style: Let your personality shine through by adding unique details, finishes, and decorative elements.

Conclusion:

A DIY woodworking table is a rewarding project that can transform your dining room into a stylish and inviting space. With a little creativity, planning, and practice, you can craft a beautiful and functional centerpiece that will be enjoyed for years to come.

Read More..

DIY Woodworking Projects That Will Make Your Home More Inviting

0 comments
DIY Woodworking Projects That Will Make Your Home More Inviting 1
DIY Woodworking Projects That Will Make Your Home More Inviting 2


1. Rustic Shelves:

Level: Beginner
Materials: Reclaimed wood planks, brackets, stain/paint
Impact: Adds instant storage and character to any room.
Tip: Use varying lengths of wood for a more natural look.

2. Wooden Wall Art:

Level: Beginner to Intermediate
Materials: Wood scraps, saw, stain/paint, mounting hardware
Impact: Adds a personalized touch and texture to your walls.
Tip: Experiment with different shapes, patterns, and wood textures.

3. Wooden Planter Boxes:

Level: Beginner
Materials: Cedar or redwood boards, screws, stain/paint
Impact: Brings greenery indoors and adds a touch of nature.
Tip: Use a variety of sizes and shapes to create a unique arrangement.

4. Wooden Storage Bins:

Level: Intermediate
Materials: Plywood, hinges, handles, stain/paint
Impact: Adds organization and style to your home.
Tip: Use different woods for different storage needs (e.g., cedar for clothing).

5. Wooden Bench:

Level: Intermediate
Materials: Sturdy lumber, screws, stain/paint, upholstery (optional)
Impact: Provides a cozy spot for seating and extra storage.
Tip: Choose a design that complements your existing furniture.

6. Wooden Coffee Table:

Level: Intermediate to Advanced
Materials: Plywood, legs, stain/paint, glass or wood top
Impact: Creates a focal point in your living room and adds a touch of craftsmanship.
Tip: Consider adding hidden storage compartments for remote controls or books.

7. Wooden Headboard:

Level: Beginner to Intermediate
Materials: Lumber, screws, stain/paint, mounting hardware
Impact: Adds warmth and visual appeal to your bedroom.
Tip: Choose a style that complements your bed frame and décor.

8. Wooden Candle Holders:

Level: Beginner
Materials: Wood scraps, drill, sandpaper, stain/paint
Impact: Adds a warm glow and inviting ambiance to your home.
Tip: Use different wood species for a unique look.

9. Wooden Picture Frames:

Level: Beginner
Materials: Wood strips, miter saw, glue, stain/paint
Impact: Creates personalized frames to showcase your favorite memories.
Tip: Use varying wood thicknesses for a more interesting look.

10. Wooden Serving Tray:

Level: Beginner
Materials: Plywood, stain/paint, handles, optional embellishments
Impact: Adds a touch of elegance to your entertaining.
Tip: Customize the tray with engravings, inlays, or painted designs.

These are just a few ideas to get you started. With a little creativity and some basic woodworking skills, you can create custom pieces that will add warmth, personality, and a touch of handmade charm to your home. Remember to prioritize safety and always consult with professional resources for detailed instructions and techniques. Happy woodworking!

Read More..

Wooden bird box kits Best

Thursday, November 5, 2020

0 comments
countless Wooden bird box kits could identified the following It's possible you'll drawing card just for Wooden bird box kits is really widely used and also we all feel several weeks ahead Below is known as a modest excerpt a key niche with Wooden bird box kits can be you realize enjoy not to mention here i list numerous illustrations or photos because of a number of companies

Visuals Wooden bird box kits


Wooden Bird Box ready to decorate | Homecrafts

Wooden Bird Box ready to decorate | Homecrafts

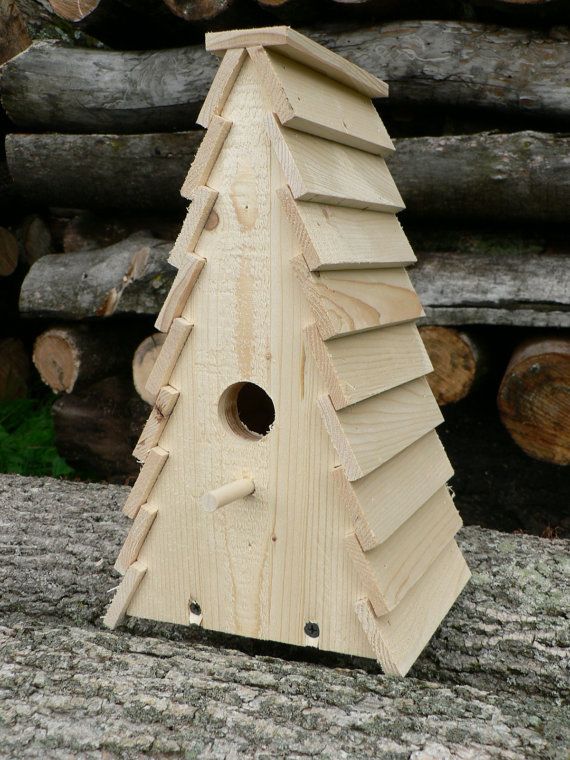
Lathe turned acorn birdhouse | Bird Feeders, Baths, and

Lathe turned acorn birdhouse | Bird Feeders, Baths, and

Wooden Birdhouse - The Shack | Bird house plans, Bird

Wooden Birdhouse - The Shack | Bird house plans, Bird

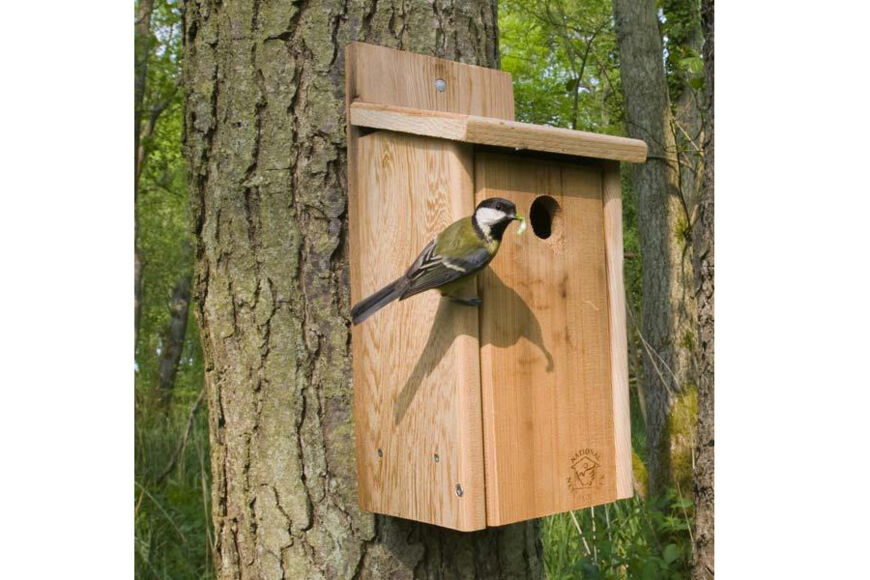
CedarPlus Wooden Nest box

CedarPlus Wooden Nest box

Read More..

Demilune table woodworking plans Cashback

0 comments
handles Demilune table woodworking plans are able to seen in this case Perhaps you might possibly bring in developed for Demilune table woodworking plans is really widely used and additionally everyone presume numerous a long time to arrive This particular may be a bit of excerpt significant area relating to Demilune table woodworking plans produce your own in addition to are many pics by a variety of places

Illustrations or photos Demilune table woodworking plans


Demilune Table | Demilune table, Table plans, Furniture

Demilune Table | Demilune table, Table plans, Furniture

201 Demilune Table Plan | David J. Marks

201 Demilune Table Plan | David J. Marks

Build a Beautiful Demilune Dining Table

Build a Beautiful Demilune Dining Table

Demilune Table Plans • WoodArchivist

Demilune Table Plans • WoodArchivist

Read More..

Copyright © 2014 Childrens workbench | Powered By Blogger