
Introduction
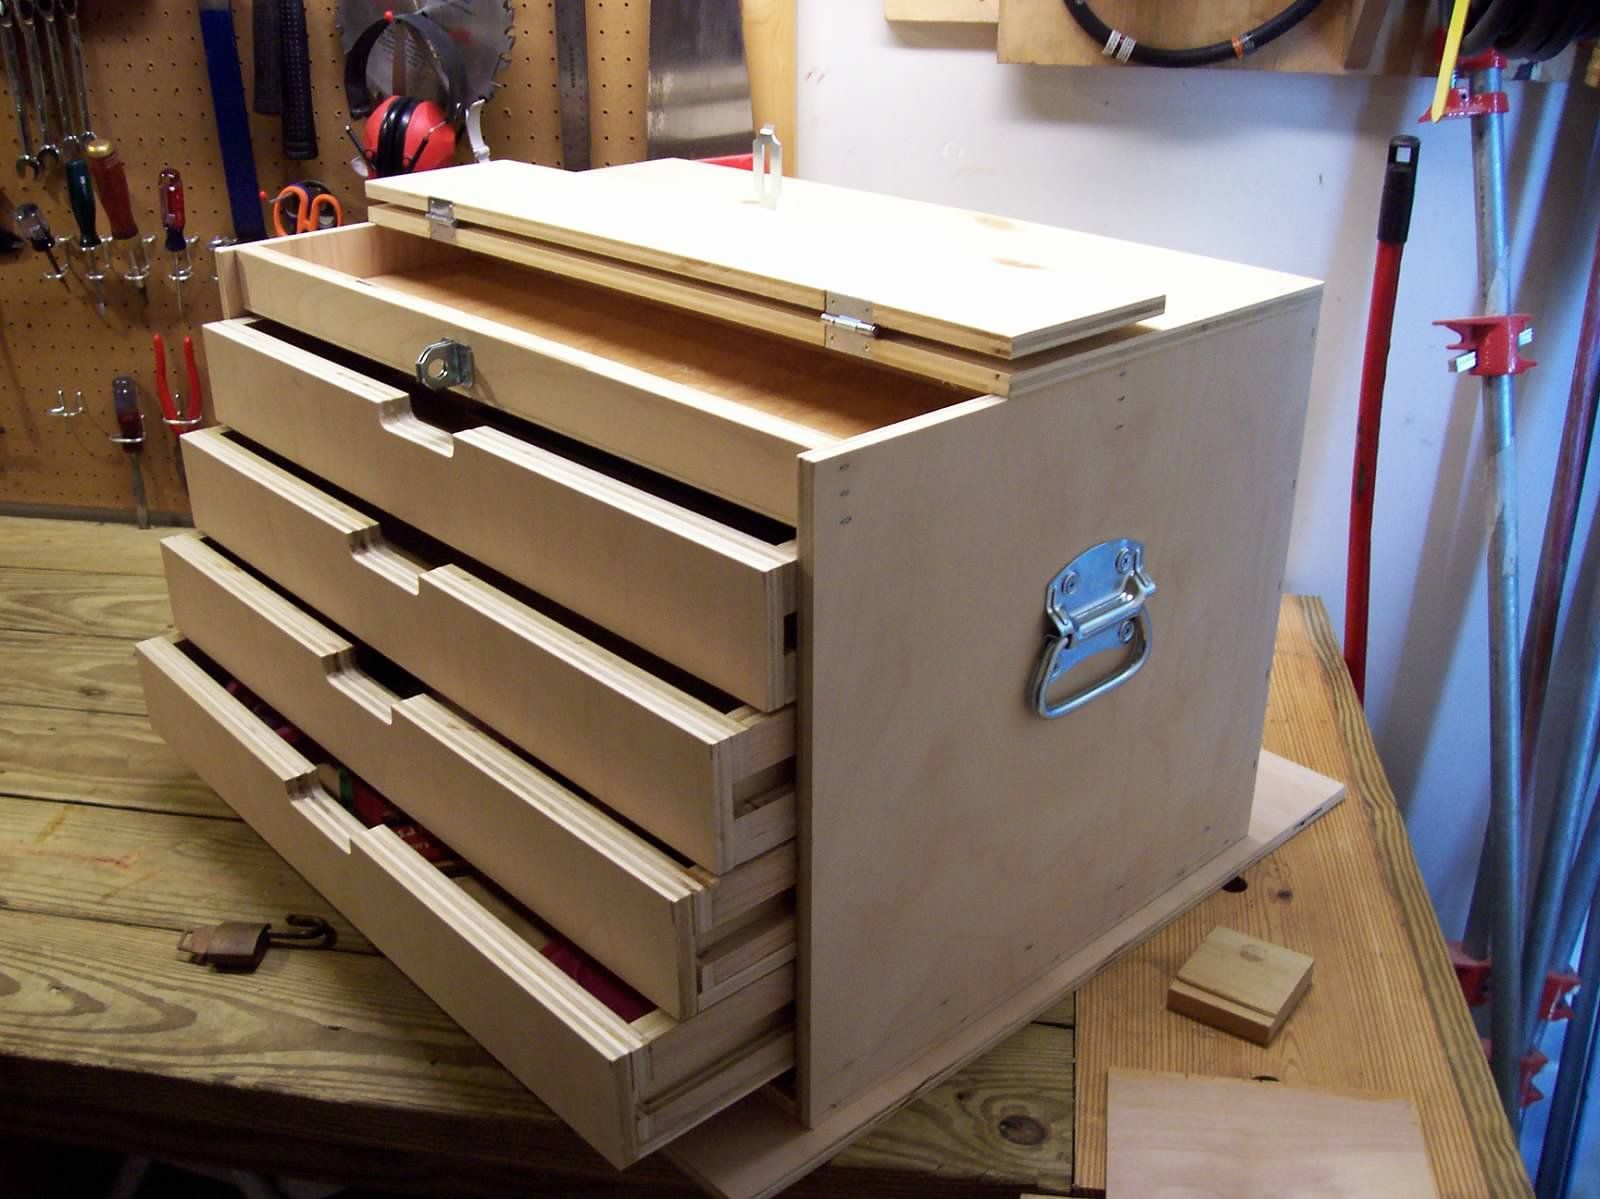
Building your own wooden toolbox is a rewarding project that allows you to create a custom storage solution for your tools. This guide will walk you through the process, from choosing materials to finishing touches.
Materials
Wood: Choose a durable and water-resistant wood like pine, cedar, or plywood.
Screws: 1.5" and 2" wood screws.
Wood glue: For added strength and stability.
Hinges: 2x 3" hinges.
Handle: A sturdy handle or a comfortable grip.
Finish: Wood stain, paint, or varnish to protect and enhance the wood.
Tools:
Saw (circular saw or hand saw)
Drill
Screwdriver
Measuring tape
Pencil
Clamps
Sander
Safety glasses and dust mask
Steps
1. Design and Cutting:
Sketch out your desired toolbox dimensions on paper, considering the tools you need to store.
Calculate the wood pieces you'll need. For example, a simple box will have two identical side panels, two identical end panels, a bottom panel, and a top panel.
Cut the wood pieces using your saw, ensuring all cuts are accurate.
2. Assembling the Box:
Lay the bottom panel flat.
Attach the side panels to the bottom panel using wood glue and screws.
Clamp the pieces together until the glue dries.
Repeat with the end panels, ensuring the corners are flush.
Attach the top panel to the box using hinges.
3. Adding a Handle:
Choose a handle that is comfortable and sturdy.
Measure and mark the placement for the handle on the top panel.
Drill pilot holes and screw the handle into place.
4. Finishing Touches:
Sand the entire box to smooth out any rough edges and prepare for finishing.
Apply your chosen finish. Stain, paint, or varnish will enhance the wood and protect it from wear and tear.
Allow the finish to dry completely before using the toolbox.
Customization
Dividers: Add dividers to create compartments for organizing specific tools.
Drawers: Incorporate drawers for smaller tools and components.
Hardware: Use metal corner brackets or metal strips for added reinforcement.
Optional features: Add a magnetic strip for holding metal tools, or a tool holder on the outside of the box.
Tips
Pre-drill holes: Drilling pilot holes before driving screws will help prevent the wood from splitting.
Sanding: Use different grit sandpaper for a smoother finish.
Cleanliness: Clean up any sawdust before applying finish.
Finishing: Apply multiple coats of finish for added protection.
Conclusion
Building your own wooden toolbox is a rewarding experience that allows you to personalize your storage solution. By following these steps and utilizing the customization options, you can create a unique and practical toolbox that will last for years to come.
0 comments:
Post a Comment