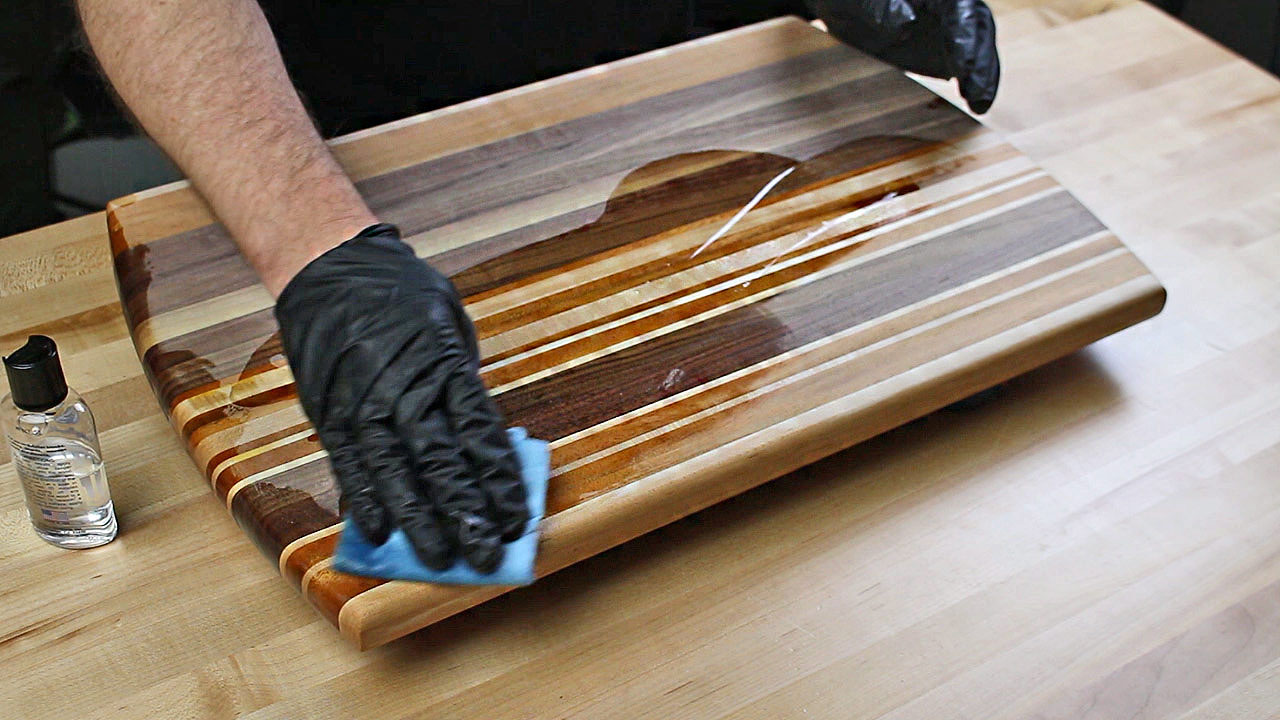

Creating a custom wooden cutting board is a rewarding project that combines woodworking skills with personal style. Here's a step-by-step guide to help you get started:
Materials:
Wood: Choose hardwood like maple, walnut, cherry, or oak for durability. You can use reclaimed wood for a unique look.
Wood glue: Use a strong, waterproof wood glue.
Finish: Mineral oil, beeswax, or food-safe polyurethane for protection and a beautiful finish.
Safety gear: Eye protection, gloves, and a respirator.
Tools:
Table saw or circular saw
Jointer
Planer (optional)
Hand plane
Sandpaper (various grits)
Router (optional)
Clamps
Drill with drill bits
Measuring tape
Pencil
Steps:
1. Choose your wood and design:
Decide on the size, shape, and style of your cutting board. Consider how you will use it and what features you want to include (e.g., handles, juice grooves).
Source your wood. You can purchase pre-cut boards or mill your own.
2. Prepare the wood:
Plane and joint: If necessary, use a jointer and planer to create flat, smooth surfaces.
Sand: Sand the wood with progressively finer grits of sandpaper to achieve a smooth finish.
3. Cut the pieces:
Shape: Cut the wood to your desired shape using a table saw or circular saw.
Handles: If you're adding handles, cut them separately and drill holes for attachment.
4. Glue the pieces together (if necessary):
Prepare the surfaces: Use a wood glue specifically designed for food-safe applications. Apply a thin, even layer of glue to both surfaces.
Clamp: Clamp the pieces together tightly and allow the glue to dry completely according to the manufacturer's instructions.
5. Shape the board:
Round the edges: Use a router or hand plane to round the edges of the board for a comfortable feel.
Add a juice groove: If desired, use a router to create a groove around the perimeter of the board to catch juices.
6. Sand the board:
Sand smooth: Sand the entire surface of the board, paying special attention to the edges and corners, to achieve a smooth, even finish.
Sand with progressively finer grits: Start with coarse sandpaper and work your way up to finer grits to remove any sanding marks.
7. Finish the board:
Apply finish: Choose a food-safe finish, such as mineral oil, beeswax, or polyurethane. Apply several coats, allowing each coat to dry completely before applying the next.
Buff: After the final coat of finish has dried, buff the board with a soft cloth to achieve a smooth, polished finish.
8. Add a personal touch:
Engrave or burn: Add a design or monogram using an engraving tool or woodburning kit.
Inlay: Create a decorative design by inlaying wood or other materials.
9. Enjoy your custom cutting board!
Safety Precautions:
Always wear safety glasses and a respirator when working with wood.
Use caution when operating power tools and follow all safety instructions.
Be mindful of dust and ensure proper ventilation.
Tips:
Consider using a template or drawing to help you accurately cut the shape of your cutting board.
Allow the wood to dry completely before applying finish.
Use a sanding block to ensure even sanding.
Test the finish on a scrap piece of wood before applying it to your finished board.
Remember, this is a general guide. There are many different techniques and approaches to making custom wooden cutting boards. Experiment with different woods, finishes, and designs to create a unique and beautiful piece that reflects your style.
0 comments:
Post a Comment