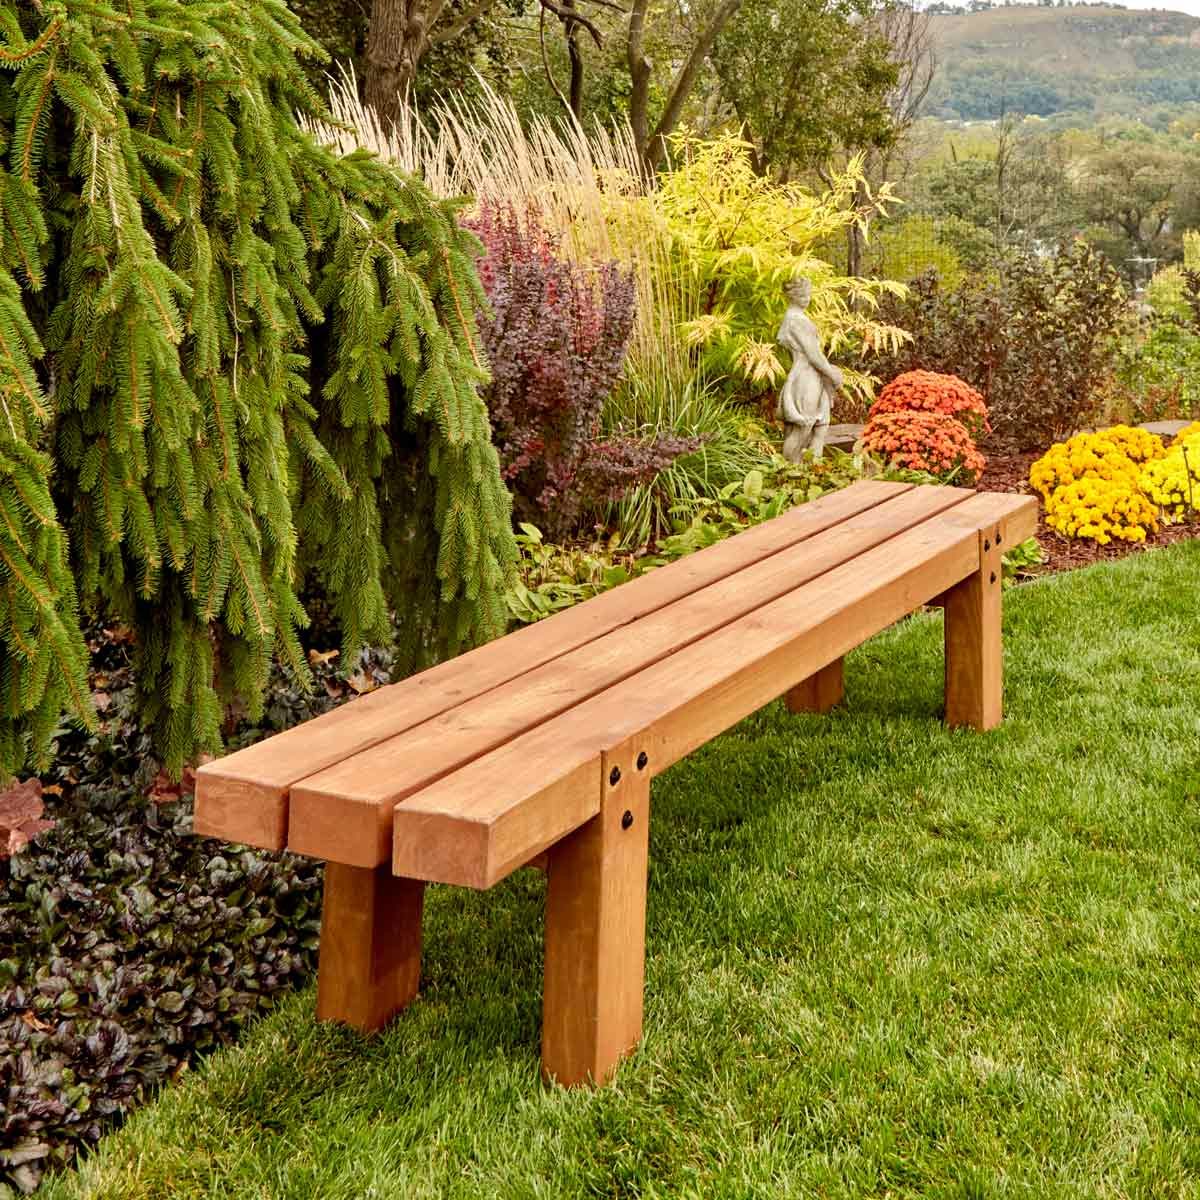

This guide will help you build a sturdy and rustic wooden bench perfect for your garden.
Materials:
Lumber:
4x4s: 2 pieces, 48 inches long for legs
2x4s: 4 pieces, 48 inches long for the seat frame
2x6s: 2 pieces, 48 inches long for the seat boards
2x4s: 2 pieces, 16 inches long for the back supports
2x6s: 4 pieces, 16 inches long for the backrest boards
Fasteners:
2.5" wood screws: Approximately 50
3.5" wood screws: Approximately 10
Wood glue:
Tools:
Circular saw or chop saw
Drill
Impact driver
Level
Tape measure
Pencil
Safety Glasses
Work gloves
Clamps
Instructions:
1. Prepare the Lumber:
Cut the 4x4s to 48 inches for the legs.
Cut the 2x4s to 48 inches for the seat frame.
Cut the 2x6s to 48 inches for the seat boards.
Cut the 2x4s to 16 inches for the back supports.
Cut the 2x6s to 16 inches for the backrest boards.
Optional: You can add a rustic look to the lumber by distressing the edges with a hammer or sander.
2. Build the Seat Frame:
Lay out: Place the 2x4s for the seat frame on a flat surface, parallel to each other and 16 inches apart.
Connect: Secure the seat frame together using wood glue and 2.5" screws. Use at least 3 screws per connection, ensuring they go into the center of the wood for stability.
Optional: You can add cross supports under the seat frame for additional strength, using 2x4s cut to the width of the bench and placed perpendicular to the frame.
3. Assemble the Legs:
Attach to frame: Attach the 4x4 legs to the underside of the seat frame using wood glue and 3.5" screws. Use 2 screws per leg.
Position: Ensure the legs are positioned at the corners of the seat frame and are level.
Optional: To add a rustic touch, use a chisel to create a slight bevel on the top of the legs.
4. Build the Backrest:
Assemble: Place the 2x4 back supports parallel to each other and 16 inches apart, approximately 12 inches above the seat frame.
Attach: Secure the back supports to the seat frame using wood glue and 2.5" screws.
Attach boards: Attach the 2x6 backrest boards to the back supports using wood glue and 2.5" screws.
5. Finish the Bench:
Sand: Sand the entire bench, starting with rough grit sandpaper to remove any rough spots and then finishing with fine grit sandpaper for a smooth finish.
Stain or paint: Apply your desired stain or paint. If using stain, apply a sealant for extra protection.
Additional Tips:
Customize: Adjust the dimensions of the bench to fit your desired size and comfort level.
Consider angles: For a more comfortable backrest, slightly angle the backrest boards.
Add armrests: For added comfort, attach armrests to the seat frame using 2x4s and 2.5" screws.
Decorate: Add decorative elements like rope or metal accents for a personalized touch.
Safety Precautions:
Wear safety glasses and work gloves.
Use a stable work surface.
Be careful when using power tools.
Always follow the manufacturer's instructions for your tools.
Enjoy your new rustic wooden bench! Remember to place it in a shaded area and treat it with wood sealant to protect it from the elements.
0 comments:
Post a Comment