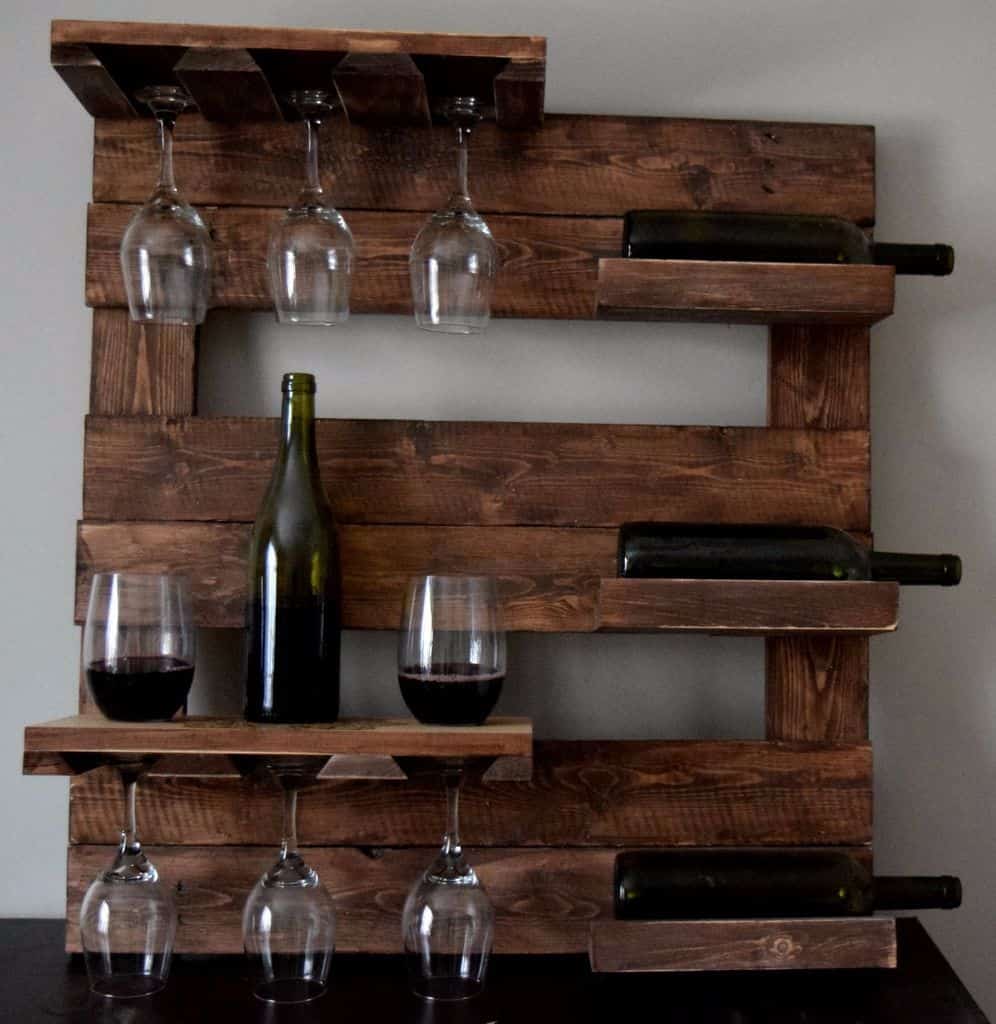

Introduction:
A wine rack isn't just a storage solution; it's a statement piece that adds character and charm to your home. With a little creativity and woodworking skills, you can build a custom wine rack that complements your decor and showcases your wine collection.
Materials:
Wood: Choose durable hardwood like oak, maple, or walnut. You can also use pine or plywood for a more affordable option.
Wood glue: For strong and durable joints.
Wood screws: To secure the pieces together.
Wood stain or paint: To finish the rack and add color.
Sandpaper: For smoothing the surface and creating a polished look.
Measuring tape: For precise measurements.
Saw: To cut the wood to size.
Drill: To pre-drill holes for screws.
Clamps: To hold the pieces together while the glue dries.
Design:
1. Choose a style: There are many different wine rack designs available, from simple to intricate. Consider the size of your collection and the available space.
2. Sketch your design: Draw a detailed diagram of your wine rack, including the dimensions of each piece.
3. Cut the wood: Cut the wood pieces according to your design using a saw.
Construction:
1. Assemble the frame: Join the pieces of wood together using wood glue and screws. Use clamps to hold the pieces together while the glue dries.
2. Add the shelves: Cut the shelves to size and attach them to the frame using glue and screws.
3. Sand the surface: Smooth out any rough edges with sandpaper.
4. Finish the rack: Apply stain or paint to your desired finish. Let it dry completely before using the rack.
Tips:
Consider adding a decorative touch: Use wood carving, inlays, or paint to add a personal touch to your wine rack.
Pre-drill holes: This will prevent the wood from splitting when you screw the pieces together.
Use a good quality wood glue: This will ensure a strong and lasting bond.
Let the glue dry completely: Before using the rack, make sure the glue has had enough time to dry.
Variations:
Wall-mounted wine rack: This is a great space-saving option.
Freestanding wine rack: This provides more storage space and can be placed anywhere in your home.
Wine rack with bottle storage: This allows you to store bottles upright, while also providing space for glasses or other accessories.
Conclusion:
Creating a DIY wooden wine rack is a fun and rewarding project. With the right materials and instructions, you can build a beautiful and functional piece that adds character to your home. Enjoy the process and the satisfaction of creating a unique and personalized piece for your wine collection.
0 comments:
Post a Comment